

 Zoe Yu
 Custom tote bag logo placement can look correct in a mockup and still feel wrong on physical samples. The buyer needs to approve logo size, panel position, handle drop, material texture, carried view and final file naming before bulk production.
Send Sample BriefView Owner Route
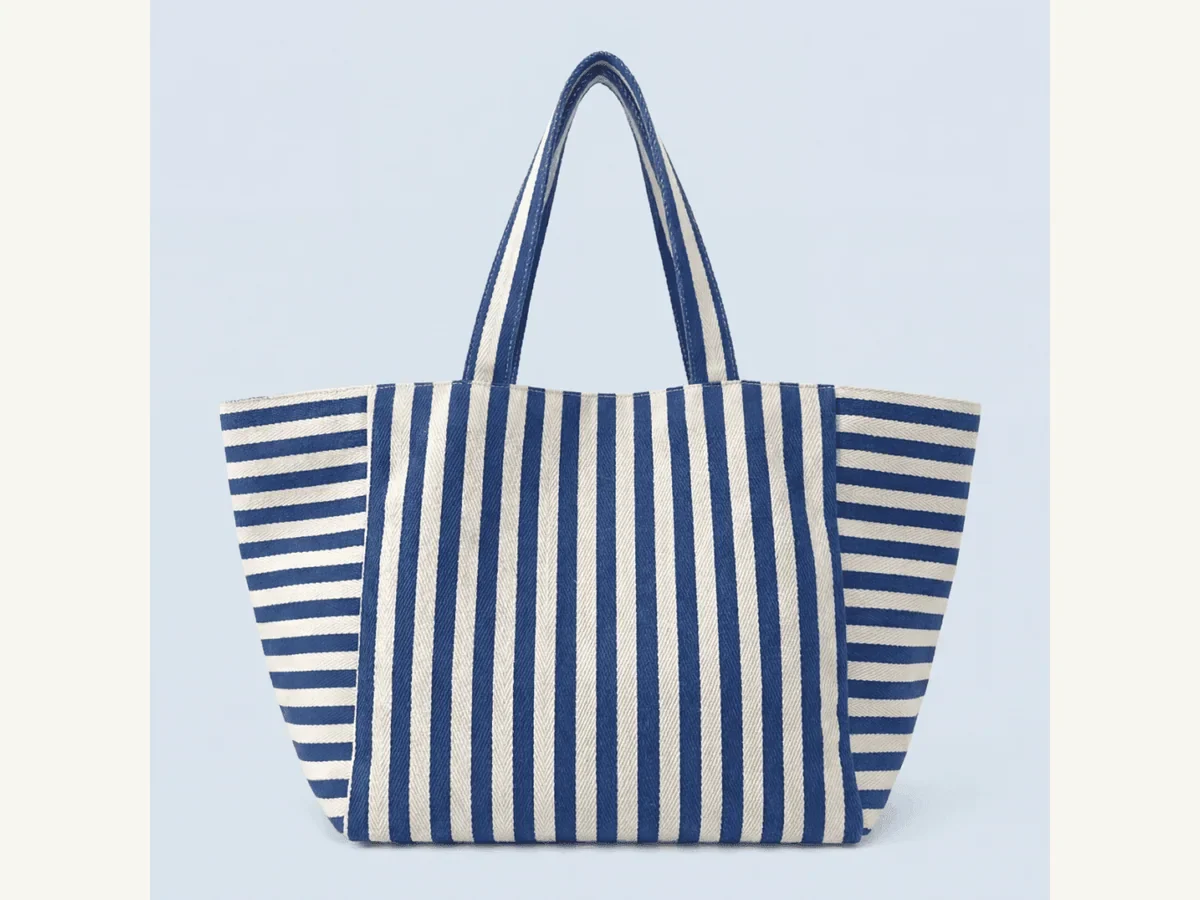
A mockup can look balanced, but the actual tote has handle drop, gusset, seam, fabric texture and carried-view limits. The sample needs to prove the visible position.
- panel position
- handle drop
- carried view
Quick Summary
This logo placement approval checklist helps brand, retail, hotel, event and private-label buyers approve custom tote bag samples before MOQ 500+ bulk production. It supports the custom logo tote route by focusing on physical sample approval, not general artwork-file preparation.
For logo placement approval, send editable artwork, final export, logo size, placement target, material route, tote size, handle drop, color reference, sample deadline and approval owner. Approve full-front, close-up and carried-view sample photos before bulk.
Buyer scenario: logo position before bulk release
A brand may know exactly which logo file to use, but still not know where the logo should sit once the tote has handle drop, gusset and material texture. Placement should be approved with a full sample photo and at least one close-up photo from the actual samples. Color management background such as ICC color management resources [1] helps explain why digital color and physical sample review should be connected.
Small logos need more margin and stronger contrast when the material has visible texture.
- contrast
- margin
- fabric texture

Common placement drift between artwork and sample
| Drift point | What buyer sees | How to prevent it |
|---|---|---|
| Handle drop | Logo looks too high when the tote is carried. | Approve a carried-view or filled-view photo. |
| Gusset or seam | Logo sits too close to the side or bottom seam. | Mark usable print area in the artwork note. |
| Texture | Fine lines soften on canvas, recycled cotton or textured fabric. | Approve a close-up on the actual material. |
| Version control | Sample, hangtag or carton file uses a different logo size. | Freeze one final artwork folder after sample approval. |
Review This Approval RouteBrowse Customization Hub
Approval file: three photos and one frozen folder
For retail-ready orders, barcode or hangtag files can become part of the same artwork control system. GS1 barcode planning guidance [2] is useful background when buyers need retail identifiers or packaging files to match the approved tote route.
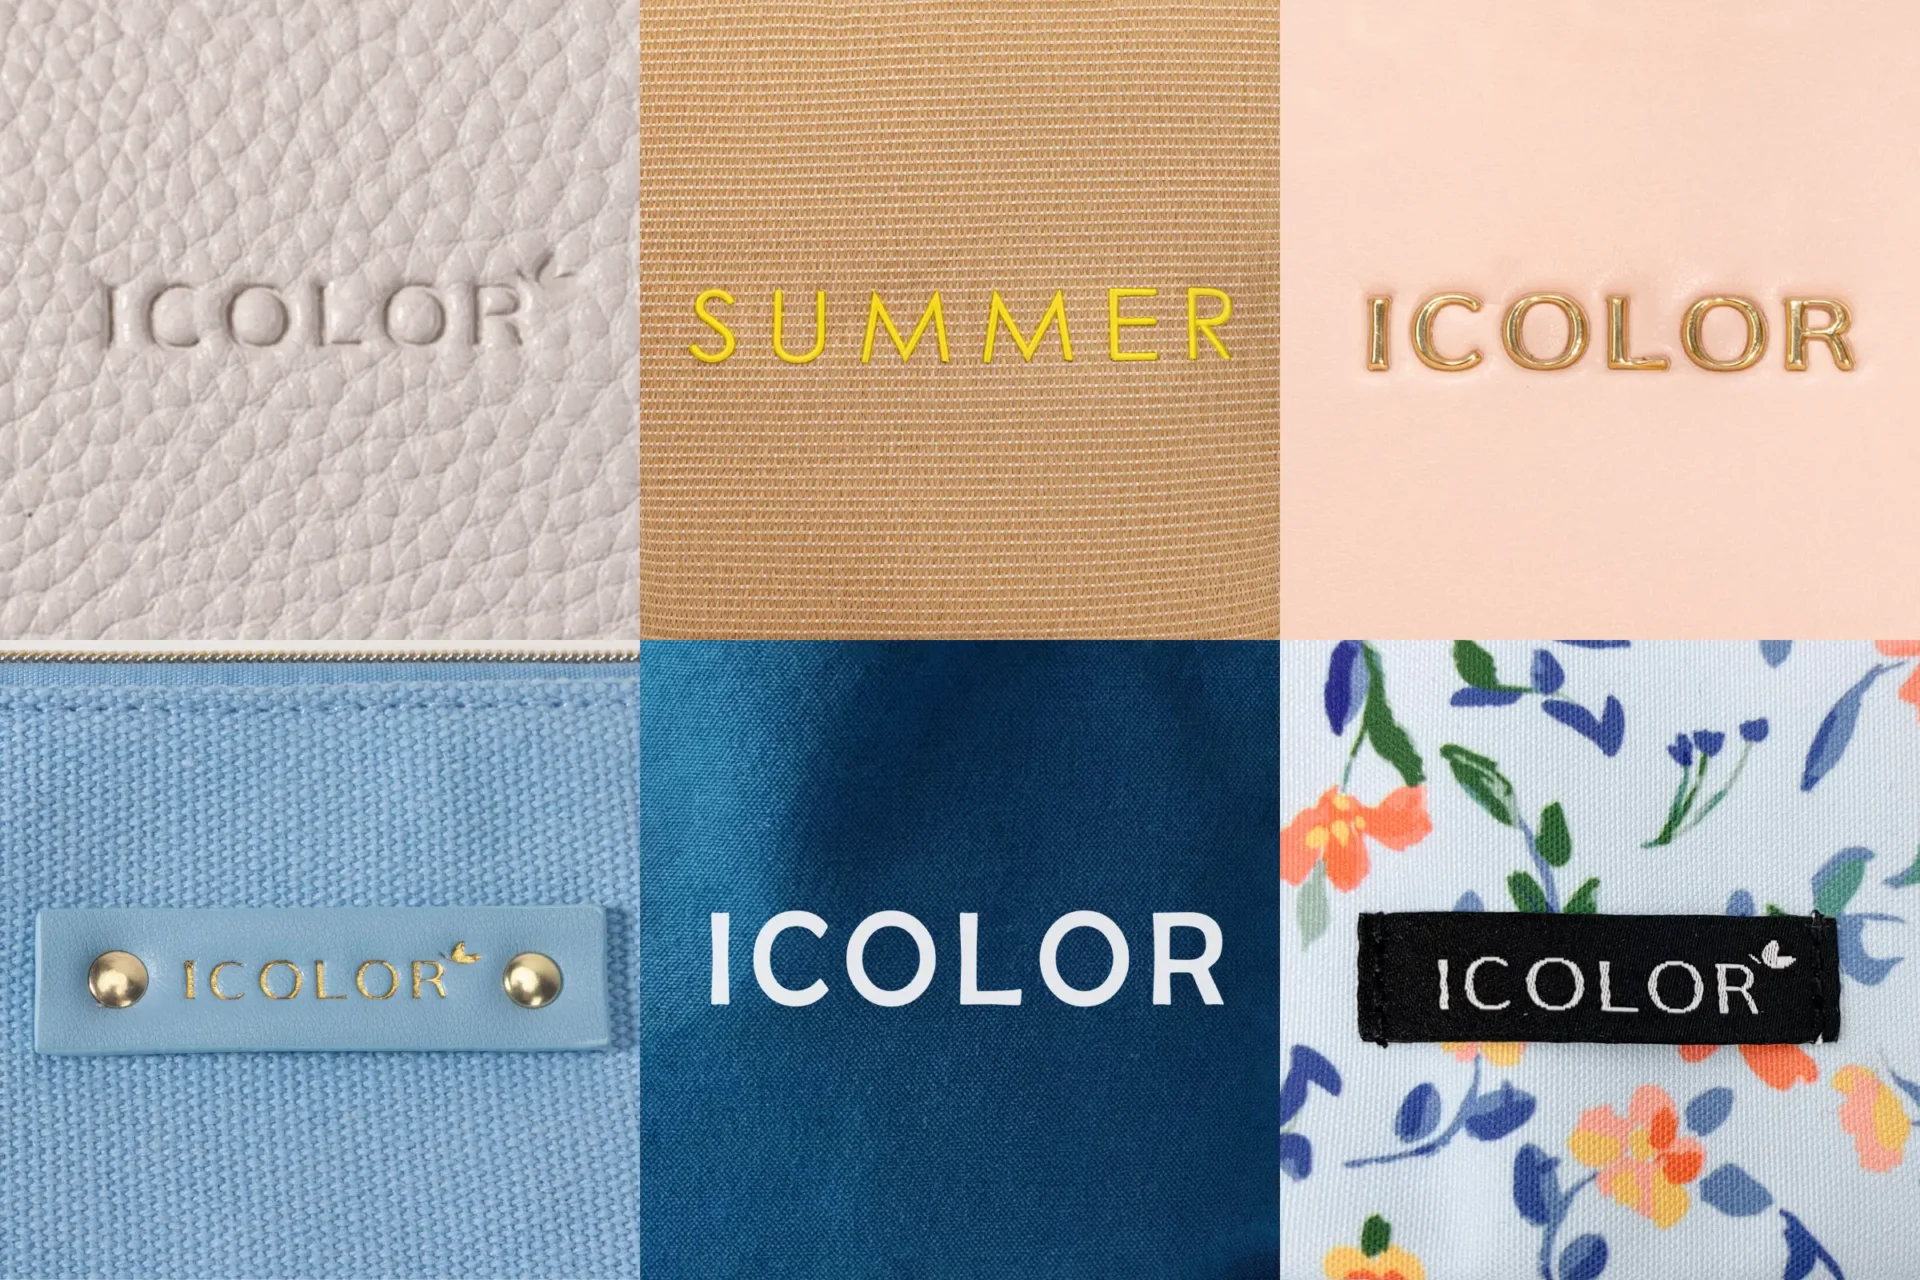
The cleanest approval package is a full-front photo, close-up logo photo, carried-view or filled-view photo, and one folder with final logo files and version names. If the buyer approves samples but later sends a resized logo, the supplier should treat it as a new approval point.
Placement approval should connect artwork file, logo size and the final sample photo.
- file name
- logo size
- placement note
Use this checklist when placement is the main sample risk
Best fit: brand, retail, GWP, hotel, event, university and private-label buyers planning MOQ 500+ custom logo totes where logo size, placement, material texture and final artwork file control matter.
Less suitable: blank tote orders, no-logo stock requests, single-piece gifts, or buyers who only have a screenshot and do not want to approve a physical sample.
Real sample approval: what “front center” meant on a panelled tote
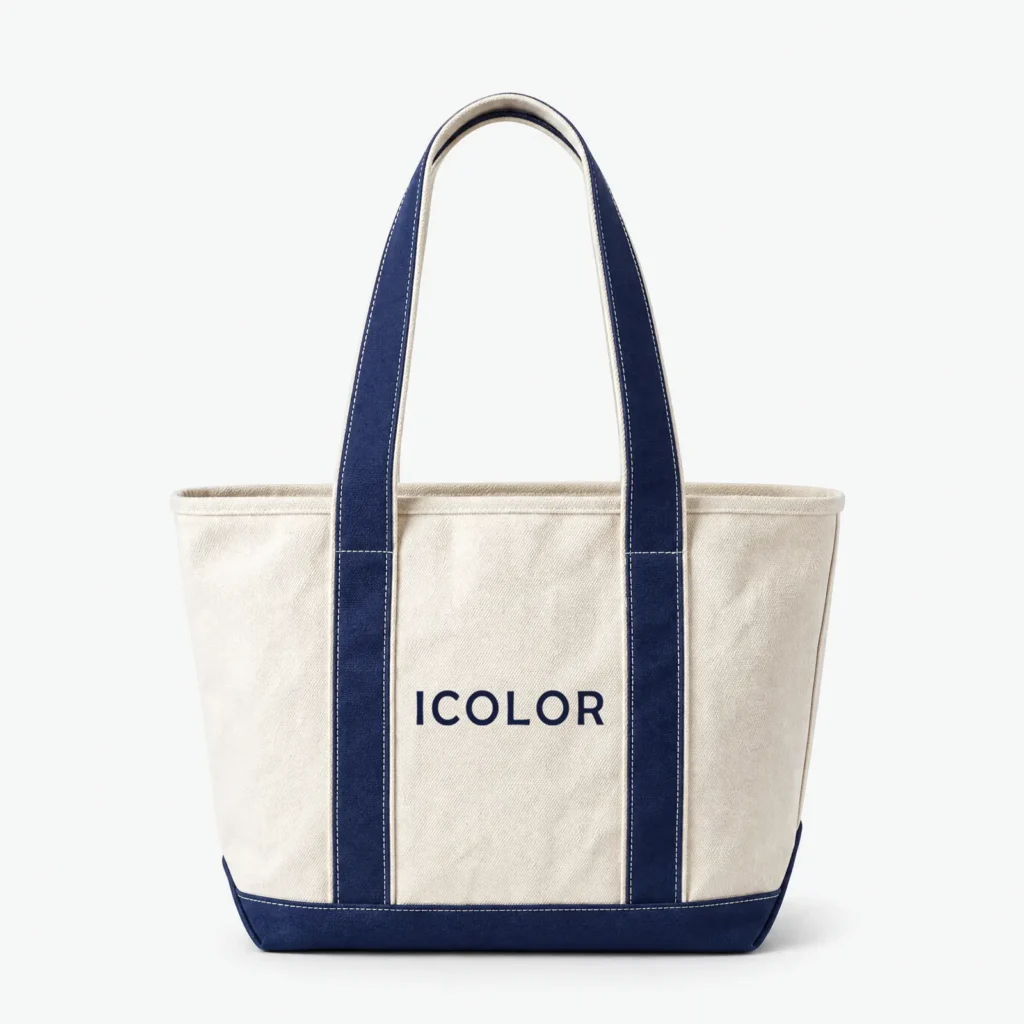
In April 2026, a Moroccan brand buyer reviewed embroidered logo placement for a 1,000-piece canvas tote project. The bag used a panelled construction, so “front center” could mean the center of the upper panel or the center of the complete bag body. We prepared two mockups with the same artwork: one aligned to the upper panel and one aligned to the full bag. The buyer selected the upper-panel-centered route, and the physical sample was approved. The factory-side lesson is to define the reference panel before embroidery, rather than trying to correct an ambiguous “center” instruction after stitching.
For panelled totes, placement notes should identify whether the logo is centered on one panel or across the complete bag body.
- 1,000-piece canvas project
- upper-panel vs full-bag center
- two mockups before sampling
Related logo approval links
Use Zipper tote sample approval checklist when the tote also has a functional closure, and use Heat transfer vs screen print logo method guide when the buyer is comparing print methods. The owner route is Custom logo totes product route. For U.S.-bound retail packing, origin or label wording may also need review; CBP origin marking guidance [3] is useful background for marking context.
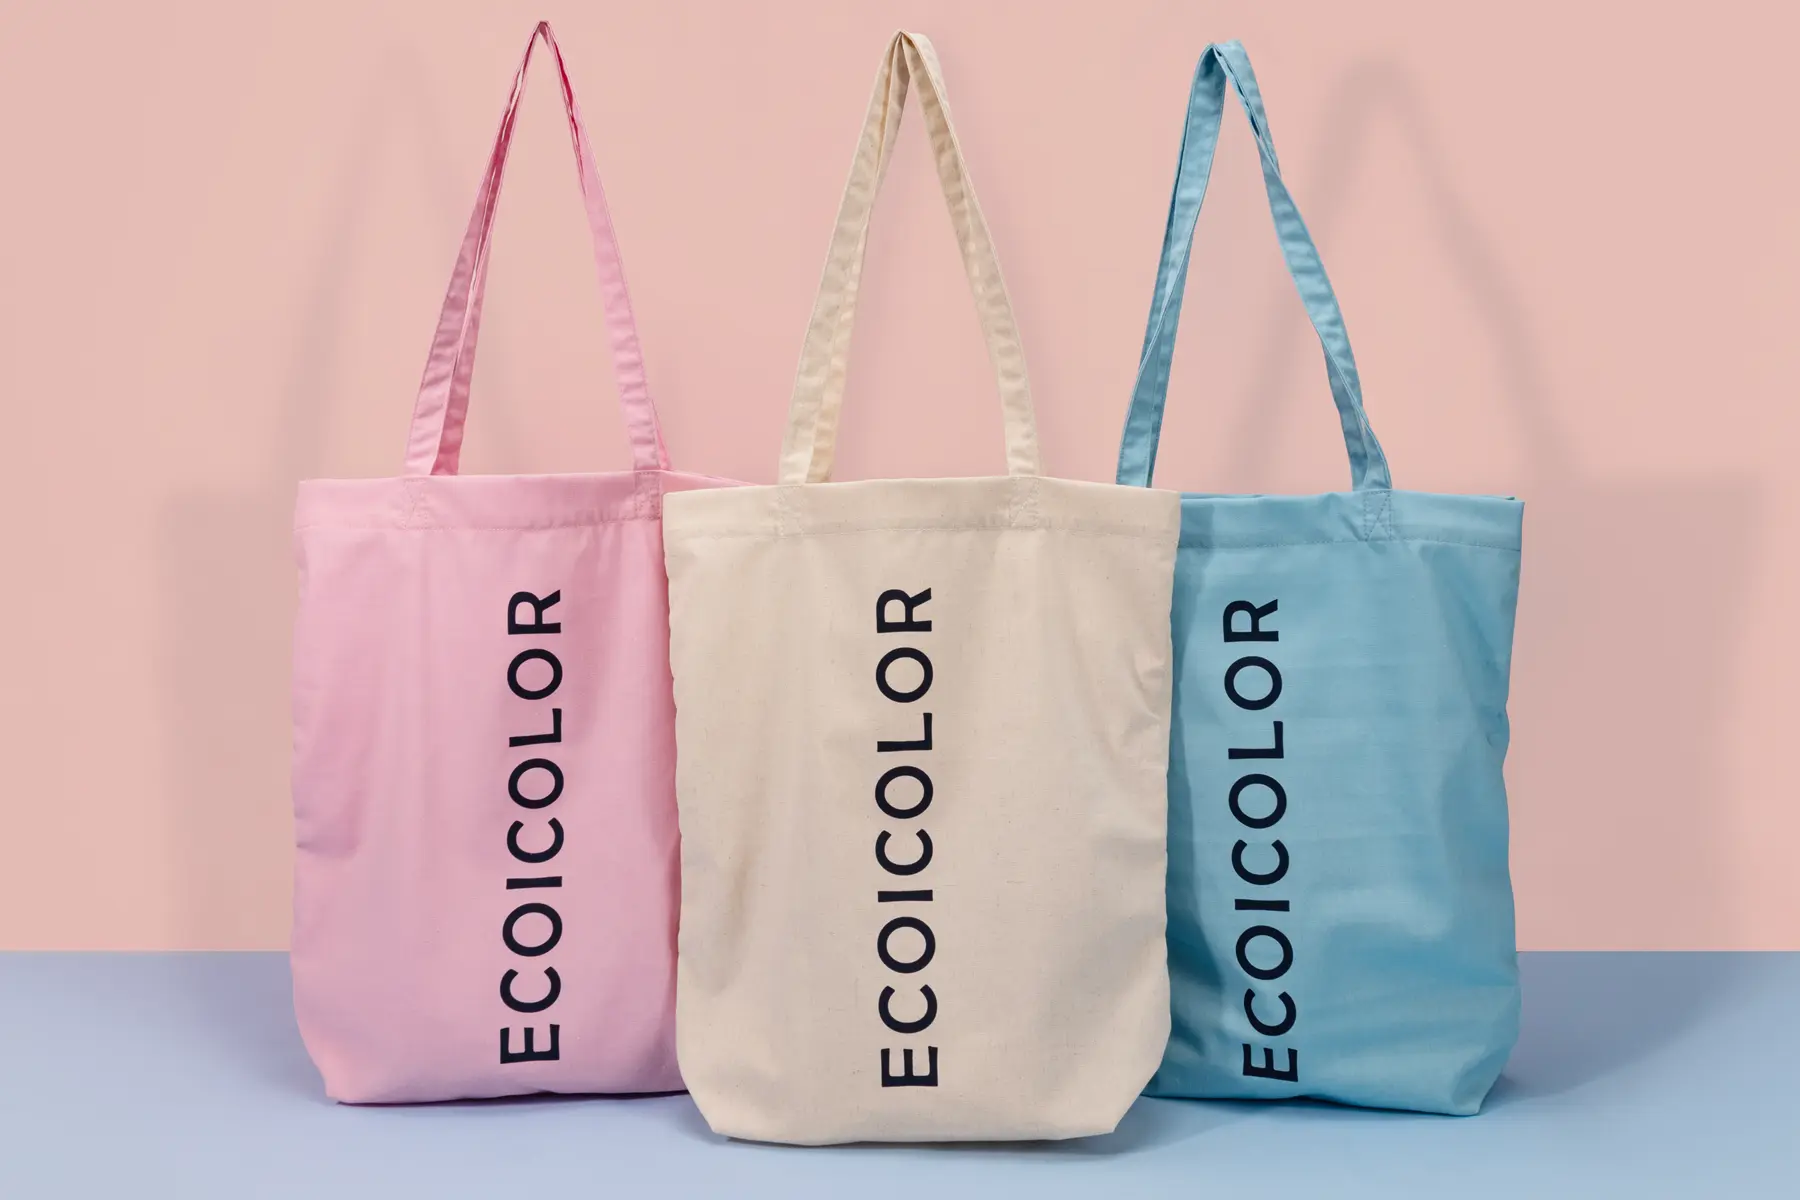
Approved samples should connect the logo process with the placement note that bulk production will follow.
- logo process
- panel position
- file version
FAQ
What should a logo placement approval checklist include?
A logo placement approval checklist should include editable artwork, logo size, panel position, handle drop, gusset or seam limits, print area, color reference, material route, sample photos and final file name. Approve the logo on physical samples, not only on a flat digital mockup.
Why can logo placement change after the first mockup?
A mockup does not always show fabric softness, panel curve, handle position, seam allowance, gusset depth or how the tote looks when carried. Those physical details can make the logo look too high, too low or too close to a seam, even when the digital layout looks centered.
How should buyers approve small logos?
Small logos need a close-up photo, full-front photo and carried-view photo from the actual samples. Check line thickness, contrast, fabric texture and distance from handle or seam. A small mark can look premium when sampled well, but it can disappear if the print method or placement is not checked.
Should placement approval include barcode or hangtag files?
Yes when the tote is retail-ready or private-label. Barcode, hangtag, sleeve and carton files should not contradict the approved tote artwork. If the logo color or version name differs between tote and packing files, the supplier may need to pause bulk artwork handoff until the file set is aligned.
What if the buyer changes placement after sample approval?
Treat a post-sample placement change as a new approval point. The supplier should check whether the change affects setup, print plate, heat transfer file, packing photo, lead time or cost. A small shift may be easy; a larger placement change can require another sample or proof.
How does logo placement affect MOQ 500+ orders?
At MOQ 500+, a placement mistake is not only one sample mistake. It affects bulk print, packing photo, carton file, brand presentation and possible rework. Clear placement approval helps the buyer compare supplier quotes on the same scope instead of comparing different artwork assumptions.
Who should use this checklist?
Use it if you are a brand, retail, event, hotel, university, beauty or private-label buyer preparing MOQ 500+ custom logo totes. It is not for blank totes, single-piece gifts, no-artwork browsing or buyers who only want a unit price without sample and artwork review.
Sources
About the Author
 | Zoe Yu is B2B Sales Manager at Ecoicolortote, supporting overseas brand buyers with custom tote bag RFQs, material route review, logo execution, sampling, packing and bulk production coordination. |
Send This Project BriefView Supporting Page